Thursday, March 8, 2012

an invitation, a thank you and a free download

  I wanted to share my birthday invitations and thank you notes I made for my daughter's birthday.

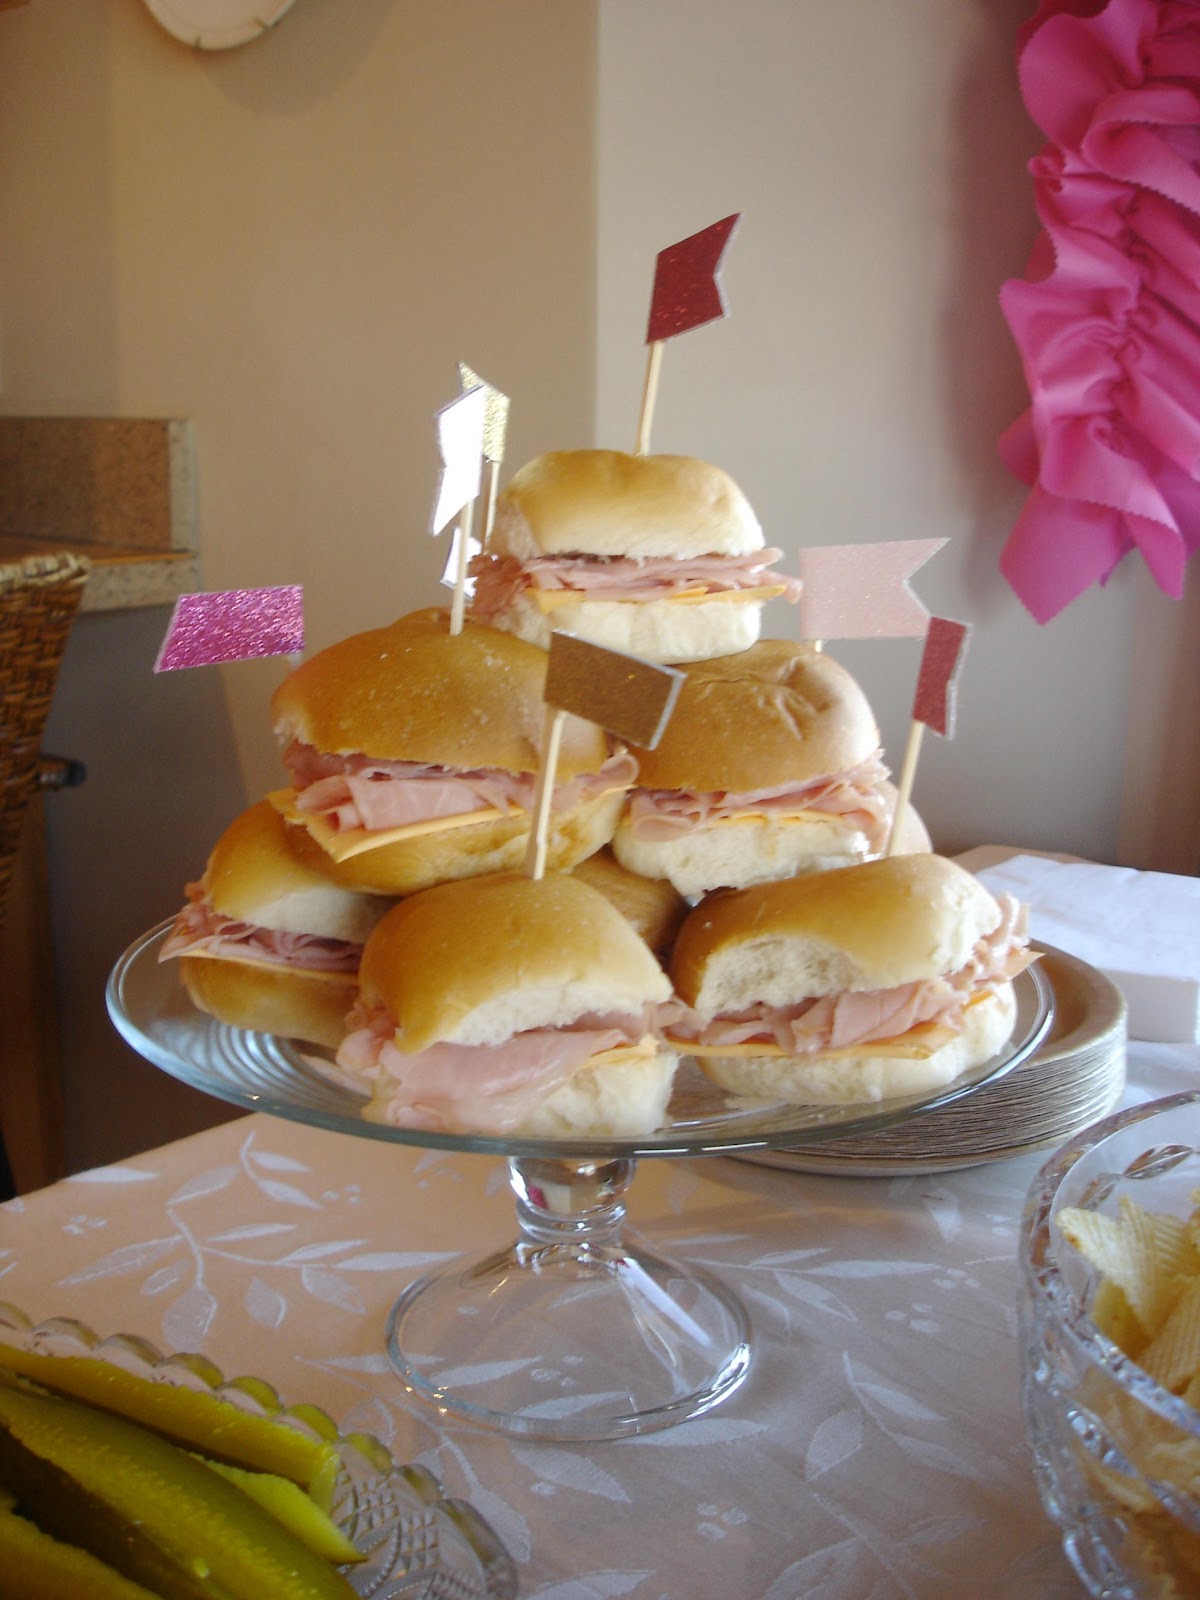
If you missed my gazillion pictures of the party, you can view them here


I made the scalloped border in a pink color and then glittered it.  The invitation envelopes are a glittery gold lined with a shimmering hot pink paper.  The note card envelope liners are what designers say "is the jumping off point".  I found this wrapping paper at Hobby Lobby.  The polka dots are playful but seem more grown-up when it's in gold.  I snatched the roll right up...not like it was the only one left or there were tons of people in the aisle.  I just knew this was the direction I wanted to go.


The glitter really does stay on....yeah it made rub off a bit when you run your hand over it.  I really don't know why I didn't see that when I was taking the picture!


 I made these four note cards for personal download use. 

I buy my envelopes from Paper Source.  These note cards fit perfectly in the 4 Bar size.


I wanted to show different embellishment options that you could do...

The first card I simply just rounded the corners - nothing too fancy.


Second card I added I flower and a ribbon leaf.


Third option I again added glitter.


And finally the fourth I tied baker's twine around it with a simple pearl flower attached to the bow.


Now for the download part....this is new for me so please let me know if there are any kinks.

All that I ask is that if you are not a follower or if you are a new visitor, if you wouldn't mind following me and sharing the link. 

You should be able to click on the "Scalloped Note Card" title below and it should take you to Scribd where you can download it....or you can click DOWNLOAD here and that should take you there as well.

Scalloped Note Card

Thanks for stopping!

Bye for now. 

Wednesday, March 7, 2012

a glamous big girl party

My big girl turned 10 this past February! 

Ohh what an exciting age!  She definitely is not a little girl anymore and not quite a teen.

A fun age that deserved a glamous big girl party. 

We've done the swimming, play park, movie and slumber parties.  I wanted to create a party where girls got dressed in fancy party clothes and ate, danced and mingled. 

I glittered, sewed, pom-pomed and baked to get things ready.  I also did a lot of pinning!  If you follow me on Pinterest, I pinned a lot of pink, white and gold parties. 

So here is just a few(hehe) pictures of the details....


I wanted to create a whimiscal tree with recycled glittered Christmas ornamnets as the centerpiece.


My lollipop circle tissue paper fluffs were super easy to make.  I will show how sometime soon.


Cupcake toppers are from this adorable Etsy shop, Icing Designs.


The paper doily banner and glittered flower streamers are from Martha Stewart.  I did add my daughter's name to the center of the doilies.  The glittered "HAPPY BIRTHDAY" banner was made by me the same way I did my "THANKFUL" banner found here.


My sandwich toothpicks were another easy project.  I will show how to make those as well.


The ruffled fabric garland was also sewn my me....and it still amazes me that I did this one!  I need to perfect a few things before I show anyone my method.


I made a bunch of symbols, number "10"s and letter "C"s out of glittered cardstock to hang in the tree.


And finally my oversized cardboard letter "C".  This too was an easy project but did take awhile.  I used the same technique as I did with my hanging crepe paper flowers found here.  The only difference was that I used strips of crepe paper in lengths of 2' instead of 4'.


Finally every party has to have balloons!  There is just something about balloons.  This party I ordered extra-long strings so that the girls could reach them.

The party went well!  I thought girls would mingle around the food and into our living area.  Instead they would grab a bite to eat and go back into my daughter's room.  At one point I went into her room and found all 8 girls on the top bunk sitting and talking.  I guess at this age they need their privacy too!

Thanks for stopping!

Bye for now.

Tuesday, March 6, 2012

my winter wreath

Seeing that it will be nearly 70 degrees today, I figured I better post about my winter wreath.  Spring is right around the corner and I am already thinking of what to do for spring.

This was my Christmas wreath that never was written about.


I got the idea from Martha Stewart found here.  It took me a looooooong while!  I started with an 18" straw wreath.  I have never used this size: I wanted something bigger for the holidays.

Well, I started with one bolt of yarn and did make it all the way around once.  But there were gaps and you could see through it.  So back to the fabric store I went.  I grabbed 2 more bolts, thinking I only needed one more but just in case I bought another one.  I probably didn't need the third but I wrapped it around as well.  The outcome is a nice fluffy non-see through yarn wreath. 

Now that the core wreath was done, it was time to embellish.

Making the flowers also took some more time!

Martha Stewart's wreath consisted of using different color ribbons with different textures.  I did price it if I were to do it exactly like she did using her source....mega expensive! 

I had bought a some velvet and satin fabric to re-do some Christmas ornaments.  I decided to give the fabric a try.  I made myself a template in 4 different sizes and traced away. 

I followed the directions online and put the flowers together. 

Instead of covering the entire wreath I decided to pin the flowers only on one side.

After this was all said and done it was only a few days before Christmas.  It was such a shame to take it down so hence the idea for my "winter wreath".

Here in Nebraska the ground is shades of brown and gold and often times covered with snow.  I wanted to incorporate those colors into my wreath.

At the fabric store I bought 1/2 yards of different colors and textures that I thought might work.


Some fabrics were easier to work with than others.  So beware.

Also I hung the wreath from a ribbon that I thumb tacked to the top of the door.  I didn't want to use my standard black hook.  I think I like it!


I used several different flowers stamens or "pips" in various coordinating colors and sizes.  I found most of what I used on Etsy.

I also ran the edges of the fabric petals through a candle to seal them.  I did this afterwards once I noticed the edges fraying after being on the wet-icy door.  If I were to make flowers again, I would do this before constructing the flowers.  It just gives it a more polished look.


Stay tuned for a spring wreath.  Hopefully it wouldn't be almost summer before I write about it.

Thanks for stopping!

Bye for now. 

Tuesday, February 7, 2012

one snowy saturday

  It's been awhile since I last wrote.  A long while.

It's the age old reason....I'm too busy.  Maybe I should back up and start over.

Writing does not come easy for me.  When I have sat down in the past to write a post, it takes me reading it over and over again.  Correcting things here and there and then finally I will push the "publish" button.  And even sometimes I will read it again after it's already been published and fix or correct words, sentences and even paragraphs.  I simply can not write and publish a post in 10 minutes!

So what I'm saying is that I have short amounts of time throughout the day to get things done.  Laundry is always at the top of my list and writing and posting is several notches down.

I am a creative person.  I like to make all sorts of things.  And I really like to share the things I've made.  But when a pile of laundry needs to be folded before kiddos get up from nap time I will most definitely always choose to fold instead of write.

I don't know how other bloggers do it.  I realize some of the bigger blogs have multiple contributors.  It's hard to balance work, family and finding time for yourself.  I'm still searching for finding ENOUGH time for myself.  

This post I planned on writing Sunday night and then that turned into Monday and now it's Tuesday.  All my kiddos are sleeping (even my little guy finally decided to fall asleep) and it's very quiet.  This post is a little out of date but I guess better than not writing it at all.

Saturday, here in the Midwest, we were hit with a big snow storm.  We went to bed @ 11:00 on Friday night and it wasn't snowing yet.  Saturday morning we woke up to not being able to look out our windows due to the heavy wet snow on the window scenes.  I heard yesterday a total of 11" of snow fell that night. 

Morning dance was canceled and then.....we knew we needed to be making a decision.  We debated and debated if we should cancel our daughter's birthday party to be held later that night.  Knowing that if we did cancel/postpone the party it would be the biggest decision to affect our daughter's young social life.  We made our decison and there were lots of tears, sad faces, sulking and stomping feet.  I would have to say I was surprised it didin't last long.  We made promises to open a few presents and play in the snow.


And her is the birthday girl in a much happy moment after completing the Lego Friends house given by Grandma and Grandpa on Sunday.  We also watched "Diary of a Wimpy Kid" altogether.  I don't normally sit down and watch kid movies or honestly any movie , but that movie is good! 

Thanks for reading!  I enjoy sharing and do plan on sharing more in the future.  But I'm still searching for a plan that will include everything I would like to get done in a day.  Maybe I'm being unrealistic in my plan.  But I don't think so.  I certainally let things slide and slide.  I think my new focus is how it will make me feel if I were to accomplish something.  Then starting a new day I will be that much better off feeling.  So maybe I'll start by looking at it that way. 

Continued until next time....

Your friend,

Monday, November 28, 2011

a perfect sunday outing

Two Sundays ago we headed out to a near by park shortly after breakfast.  I wanted to capture some fall-early-winter pictures, possibly one for a Christmas card, in the morning sunlight.

It was bitter cold!  Park people had to think we were crazy running around. 

The best part of our little adventure was there was very little complaining from our youngsters.  It was definitely shocking!  In addition to it being super cold we took a ton of pictures, which I thought for sure they would tire of!

We captured pictures of them running,


throwing leaves up into the air,


tossing rocks into a half frozen pond,


running down a hill at full speed,


finding an awesome tree to climb,


and then running some more.


I hope everyone had a nice time with family and friends on Thanksgiving.   

Now on to the next holiday...

Thanks for stopping.

Bye for now!

Wednesday, November 23, 2011

happy thanksgiving

I wanted to stop in and wish everyone a happy and safe Thanksgiving! 

Cherish your time with your family and friends on this special day!


I know I sure will!

Thanks for stopping.

Bye for now!

Tuesday, November 22, 2011

freezer paper book covers

I wanted to share with you how I made my book covers for my display niche above our TV.


I wanted an uniform book look and didn't have a collection of all the same books with same covers. 

I remembered reading about this tutorial found here, where she coffee stained shipping tags as a seating placement card.  I used the same technique on freezer paper and cut it to fit as a book cover.

I started by cutting sheets of freezer paper large enough to cover my books.  Make sure you cut it large enough, you will see why at the end once it drys.


Then I crumbled some up and others I folded.  I found that the manner in which you do this will leave a different pattern once it gets wet.


I prepared my instant coffee according to the directions and then dunked the paper into the coffee.

Watch out it will be hot!


Then I laid it out.....it's OK if some coffee remains on the sheet.


I then dibbled some of the granules onto the sheet into the excess and watched as it slowly dissolved.


I dabbed some of the excess liquid off.


It happened to be a nice day and I laid them outside to completely dry.


I didn't take a picture of the next steps but I cut the sheets to fit the books as a cover and hot glued them on. 

If you notice in the picture that the ends curled a little and that's why I suggested cutting the freezer paper a little larger than the book.  I cut around the curls for a straight edge.


I think I will always have these books as props in my display space.  They are a good neutral color with some interest and an unique texture.

I MIGHT try diluting red or green craft paint and doing the same technique for my Christmas display.  I am working on several things...ornaments, tree topper, wreath along with Christmas shopping and OH-My a little guy's 4th birthday party! 

I feeling a little stressed and the season hasn't even begun!

So the neutral book covers might need to work though this holiday season.

Thanks for stopping.

Bye for now!