Showing posts with label girl birthday party. Show all posts

Wednesday, March 7, 2012

a glamous big girl party

My big girl turned 10 this past February! 

Ohh what an exciting age!  She definitely is not a little girl anymore and not quite a teen.

A fun age that deserved a glamous big girl party. 

We've done the swimming, play park, movie and slumber parties.  I wanted to create a party where girls got dressed in fancy party clothes and ate, danced and mingled. 

I glittered, sewed, pom-pomed and baked to get things ready.  I also did a lot of pinning!  If you follow me on Pinterest, I pinned a lot of pink, white and gold parties. 

So here is just a few(hehe) pictures of the details....


I wanted to create a whimiscal tree with recycled glittered Christmas ornamnets as the centerpiece.


My lollipop circle tissue paper fluffs were super easy to make.  I will show how sometime soon.


Cupcake toppers are from this adorable Etsy shop, Icing Designs.


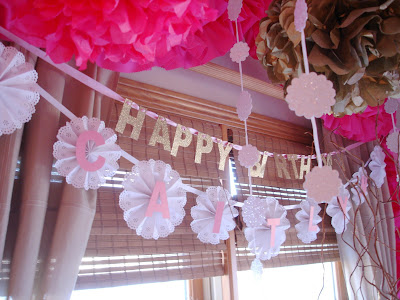
The paper doily banner and glittered flower streamers are from Martha Stewart.  I did add my daughter's name to the center of the doilies.  The glittered "HAPPY BIRTHDAY" banner was made by me the same way I did my "THANKFUL" banner found here.


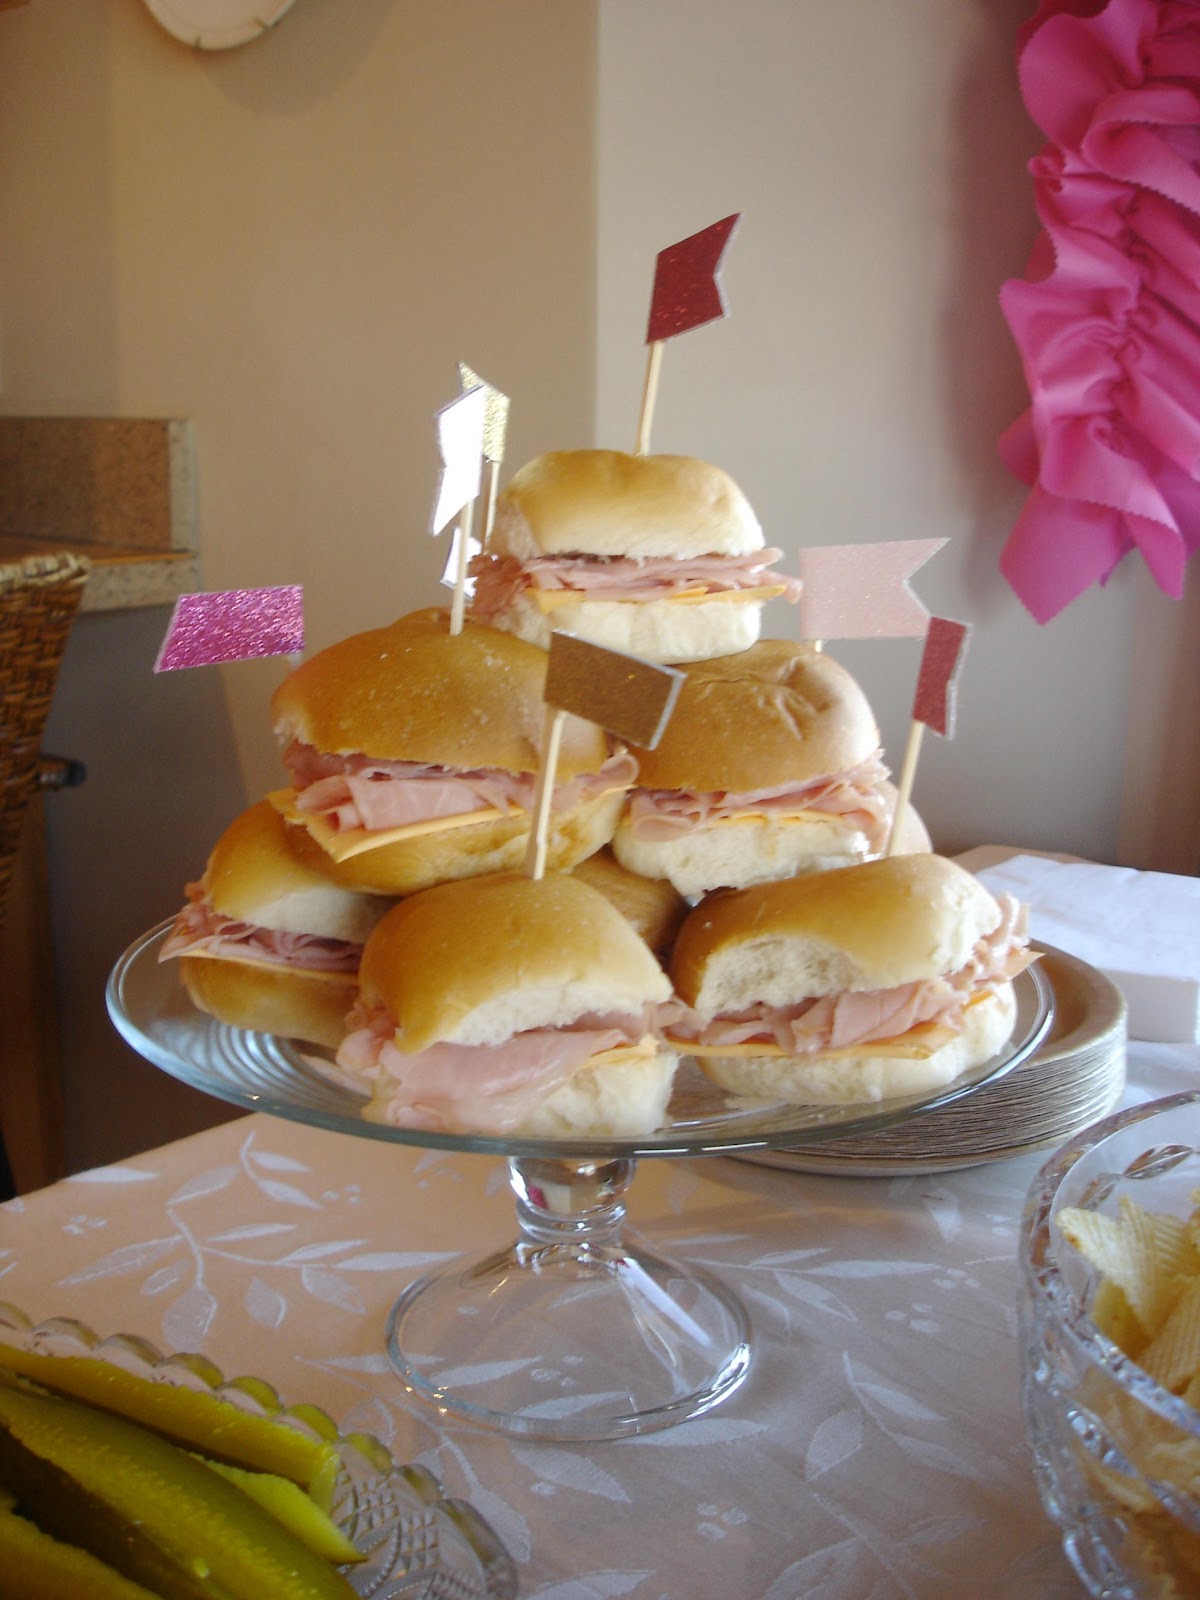
My sandwich toothpicks were another easy project.  I will show how to make those as well.


The ruffled fabric garland was also sewn my me....and it still amazes me that I did this one!  I need to perfect a few things before I show anyone my method.


I made a bunch of symbols, number "10"s and letter "C"s out of glittered cardstock to hang in the tree.


And finally my oversized cardboard letter "C".  This too was an easy project but did take awhile.  I used the same technique as I did with my hanging crepe paper flowers found here.  The only difference was that I used strips of crepe paper in lengths of 2' instead of 4'.


Finally every party has to have balloons!  There is just something about balloons.  This party I ordered extra-long strings so that the girls could reach them.

The party went well!  I thought girls would mingle around the food and into our living area.  Instead they would grab a bite to eat and go back into my daughter's room.  At one point I went into her room and found all 8 girls on the top bunk sitting and talking.  I guess at this age they need their privacy too!

Thanks for stopping!

Bye for now.

Wednesday, July 20, 2011

crepe paper flowers

  While I was setting up for my daughter's birthday a couple of weeks ago, I wanted to add something orange.  I really wanted to make some orange pom-poms.


I searched several stores even a party store and orange tissue paper was no where to be found.  I had no idea!  I'm sure I could have found it online, but I didn't have the time to wait.

I remember seeing on the wonderful blog Dear Lillie she made crepe flowers as embellishments for wrapped presents.  It really added to the finished look of the present.  It was almost to beautiful to unwrap!


Well I took that idea and thought about hanging flowers from the ceiling.  But I knew once I hung them they would sway back and front and you would see the back of them.  So why not hot glue two flowers back to back?

Dear Lillie has a complete tutorial on the making of these flowers...here is my shortened version.

I started with 3 strips of crepe paper anywhere between 2' to 4' long, depending on big you want the flower to be.  I cut mine 4' long.  I ruffled one edge.  Then I wound it around and hot glued it as needed.  I found that once I started winding the crepe paper somewhat held it's shape so it didn't need hot glue.


Once the flower is completed glue strips of crepe paper on the back to hold in place.


I cut a long piece of fishing line.  You could use about anything to hang it with depending on the look you want.  I think it would be pretty to hang it from a satin ribbon tied in a bow at the top of the flower.  But in this occasion I wanted everything to be floating from the ceiling so I didn't want the string to be seen.


Next just hot glue to flowers back-to-back.


Then squish the two layers together.


And finally the fun part...separating the layers of the flower!

I separated the outer layers the most and kept the inner part of the flower together.  I liked the look of the more defined flower as it circled toward the middle.  Experiment on what you like best.


In my top picture, I love how it adds another dimension to the decorations.  The mix of pom-poms, lanterns and now these crepe paper flowers make for an interesting display.  In a way I'm glad I didn't find orange tissue paper.  A year ago I would have never mixed these things...it would have been one thing or another.  Let me tell you I'm really shaking it up now!  Watch out!  Ha Ha.

Thanks for stopping.

Bye for now!

Thursday, July 14, 2011

summer birthday

  Last Friday was my daughter's 7th birthday.  It was a fun swimming/sleepover that went flawless!  I don't think I could ask for a better party!  We have had our blow-up slide for 3 years and this is her 3rd pool party.  But this year we had to add a new twist to it - friends sleeping over.


Here are just a few pictures of the party.


My banner matches the banner I have displayed on my front door wreath and my invitations.  I wanted everything to coordinate....I'm not sure anyone noticed, but I like that everything matches!


The paper lanterns are from Martha Stewart and I made the pom-poms for her website found here.


The orange flowers are made from crepe paper.  I really enjoyed working with that type of paper.  I will show in a few days how I made them.  I just recently saw a hair accessory that looked very similar to my flowers that were made out of tulle.  I might have to experiment with that as well.


Lastly is my yellow ruffle.  I absolutely love it!  I purchased 3-1/2 yards of a yellow cotton at Jo Ann's that was on sale for $1.99.  I didn't really care what type of fabric it was but I needed it to be yellow on both sides.  I cut it into 8" strips and ruffled it with my handy dandy elastic thread.  (I think I'm also going to ask for a ruffling foot for my birthday - I really like to ruffle!).  Then instead of sewing the strips together, probably like a normal sewer would do, I hot glued them.

I think the ruffle adds so much color and I couldn't be more pleased!


I'm really liking this brithday decorating thing!  I so like making it a fun atmosphere for my kids and their friends!
Poor handy husband got the job of blowing up water balloons - all 100 of them.  It probably took him 1/2 hour to do them all.  The sad part was that it literally took the kids 2 minutes to break all of them!


And one more picture of our dog, Mason, just hanging out and watching everyone play.  Good old dog!


Thanks for stopping.

Bye for now!

Tuesday, July 5, 2011

summer birthday wreath

  I hope everyone had a blast this 4th of July.  I know my family did shooting off fireworks!


I love this picture of all of them huddled around Dad lighting a snake, even the dog wanted to be a part of it all.

This weekend was filled with everything that has to do with birthdays.  Buying presents, wrapping presents, making decorations, hanging decorations and planning my grocery list.

I finally finished several projects that I will share in the next couple of days.  Today I will show you my front door wreath.  If you have read my blog before, you might have noticed that I love making wreaths!  It's a quick project that I usually I can get done in a day.  And if not I can usually work on it during nap time.

This wreath is by far my favorite!  I will probably do this again, just using different fabrics.
Watch out there are a lot of pictures!


Instead of wrapping the ruffle around the wreath like I did in the previous one, I ran the ruffle in circles.

I started with just one long 3" wide strip of fabric.  I ruffled it and pinned it to the wreath.  It so was missing something!  Then I cut another 3" strip and pinned it to the back of the wreath.  It still looked like I needed to add another strip.  I cut another one and pinned it in the middle.


I didn't like how you could see the pins in the ruffle so I hot glued only the inner ruffle.  No need to do the other 2 - you don't see them.

I didn't like how the edge of the ruffled fabric was straight.  So I free-hand scalloped the edge and then frayed it.  I love the tatted undone look!


I added some flowers and made a banner that coordinated with my invitations.  I hung the banner with some orange baker's twine.  I had originally thought I would also include a "Happy Birthday" stamped on a piece of paper and hung with the flowers but I now think it might be too much. 


The yellow zig zap banner is my favorite!


I thought I would show you one last picture of our 4th of July.  In this part of the country these fire-proof fabric lanterns that you set on fire, somewhat like a miniature hot air balloon are all the rage.  So of course we needed to get one.  You might think it's illegal - I sure did when I first saw it.  But they're not and according to the fire marshall he says they are safer than fireworks.  Our night sky was filled with them.  It was quite a sight!  Our girls were so hoping to follow one and catch it as it drifted down to the ground but not such luck.  But when we woke this morning one had come down in our back yard.  Our Hannah said because of it it was going to be her lucky day!  How cute!


Thanks for stopping.

Bye for now!

Linking to these parties: