Wednesday, May 18, 2011

silhouette giveaway

 
  I just wanted to share that you can have your chance to enter a giveaway for an awesome machine at Tatertots and Jello!


I want this!  I have entered so many of these giveaways.  Gosh, can it please be my turn! 

Click on the button for your chance to win.  Giveaway ends May 23rd.


Thursday, May 5, 2011

Mother's Day

  OH- my goodness!  It's been so long since the last post!  I haven't had anything creative to share...I've been just busy with end-of-the-school-year things.  Gosh I still have up my Easter decorations.  This weekend they're coming down!

I do want to show you what I've made for my Mother and Grandmother for Mother's day.  I somehow seemed to have squeezed enough time to do those this.  This project took a week and several days to complete.  I didn't have everything on hand and going out during the week is nearly impossible.  So my weekends are jammed packed with errand running.

A couple of weeks ago my Grandma had mentioned that she is always misplacing her thank you cards, so I thought I would make her and my Mom some.  I also wanted to keep them in a see-through bag.  I wasn't having much luck in finding a bag, so I made that too.

I started with these things:
Gorgeous printables purchased at Jones Design Company.
Card stock and envelopes
Decorative scrapbook paper
Glue stick, pencil and scissors
(I used my straight edge and Xacto blade because I wanted a clean line - that goes back to my college drafting classes where we were graded on our craftsmanship).

In this photo I wanted to make envelope liners....that's my template at the bottom right.  I traced that onto my scrapbook paper, cut it out and glued the upper portion to the envelope.


Aren't they gorgeous!


Now for my bag...I wanted to use vellum but I didn't have big enough sheets handy.  And going out for these things is quite a driving distance and takes time during the week that I just don't have.  I did not want to leave it for this weekend.  I had to resort to tracing paper - this roll is also back from my college drafting days.  It's a couple of thickness steps up from tissue paper.  It's flimsy....vellum would have worked a ton better but OH-well. 

I thought I would show how to make it when I get scrapbook sized vellum next week.  I was so pleased at how this turned out I thought I would do the same for teacher thank you gifts.


 Finally, and this is a huge last step with many little steps, I made folded flower pins.  Again you can find the tutorial at Jones Design Company.  Can you tell I love her blog!

The flowers took me several days. 

First I needed to find the flower fabric,
then I needed to buy pins,
then fabric for the leaves,
make a template,
traced the template onto the fabric,
cut the fabric shapes out,
sewed the pins on,
hot glued the leaves on,
and finally started hot gluing the "petals" of the flower on.

Are you still with me?

Despite all the gathering and preparing for these gifts, I love them!  I want to keep them for myself!  But I know the recipients will love them just as much as I do - mainly because I made them!  My Grandma will be shocked to learn that I made it. 


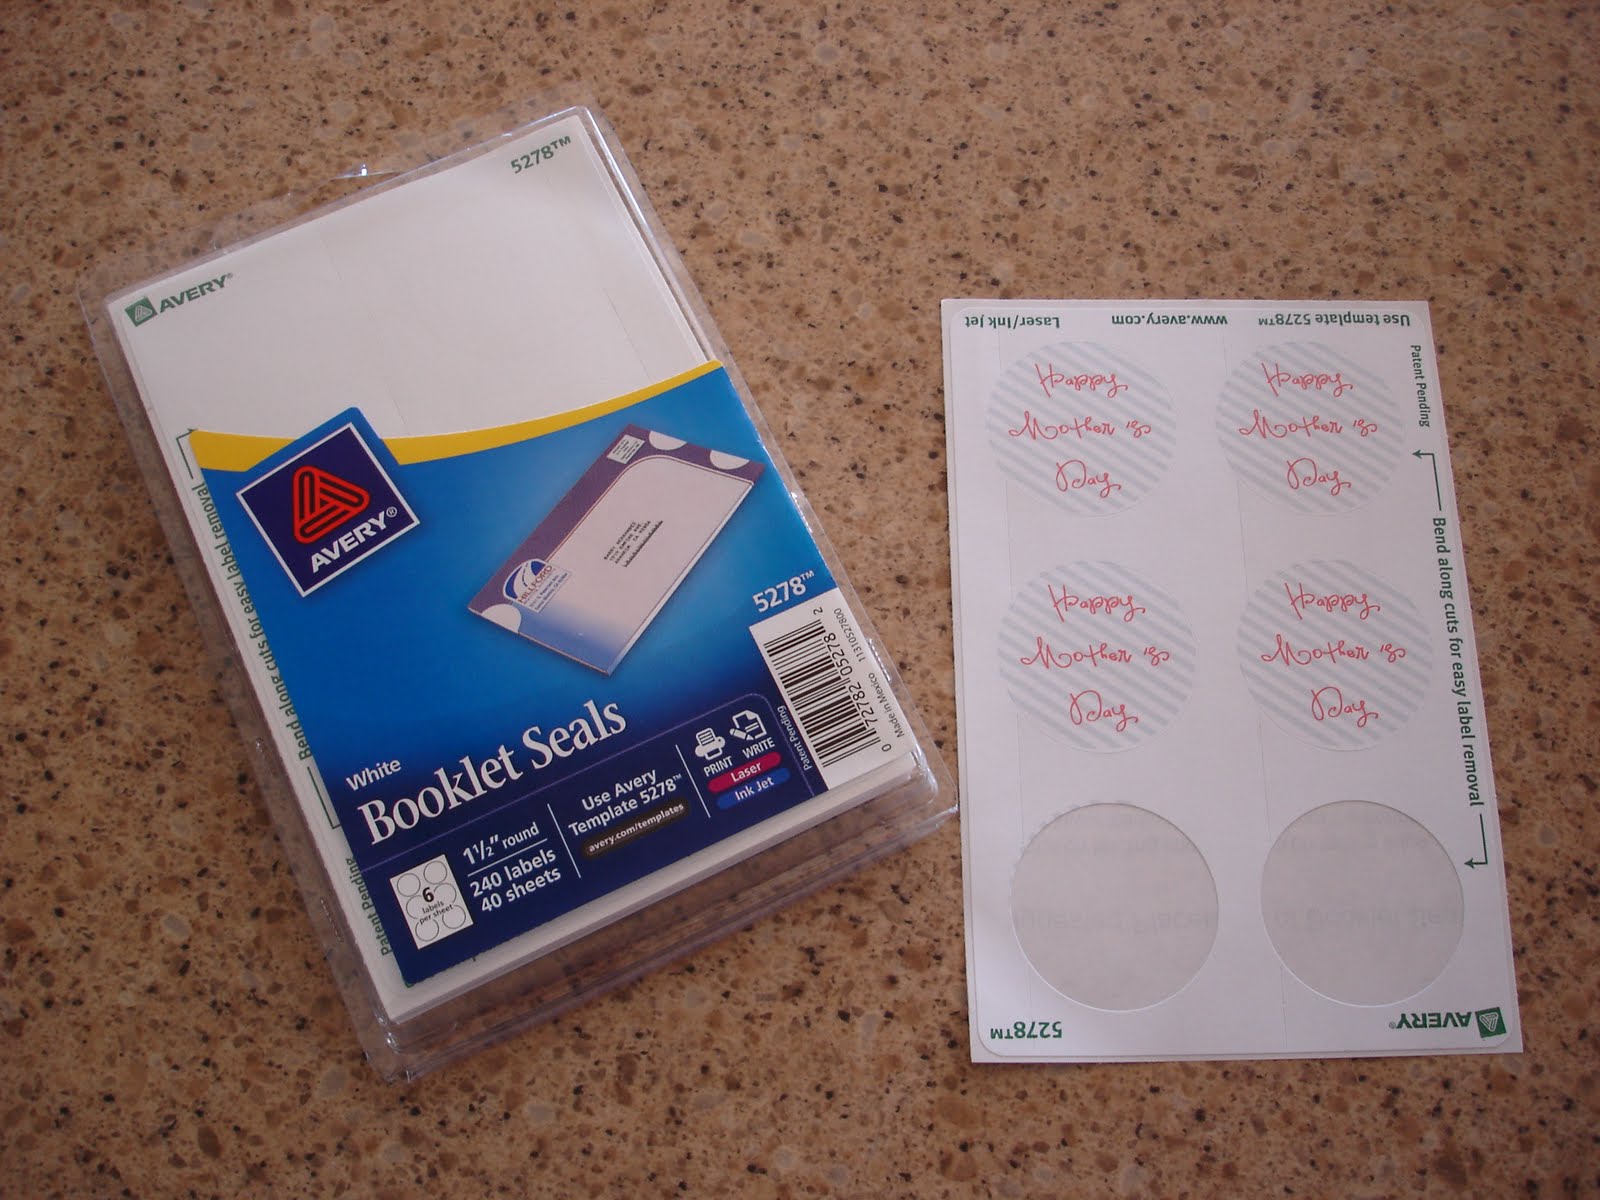
OH and another thing...I made circle stickers that I first was going to use to keep the bags closed.  But once they were applied to the paper, it ripped the paper hence the point of keeping these cards in the bag.  So I stuck the sticker to the front of the bag as a reminder of when they received the cards.

I wanted to attach the design of my sticker as a download, but I didn't know how to do that.  If anyone does, let me know and I'll be happy to. 

The AVERY company has a wonderful free program that can be downloaded from their site.  It has all of their product templates from T-shirt transfers to shipping labels.  It's a neat program!  I inserted the diagonal paper and added text to make my mother's day label.


Have a wonderful Mother's day!

Thanks Mom and Grandma for everything you have done for me!

I truly am blessed!

Thanks for stopping.

Bye for now!

Linking to these parties:


Thursday, April 14, 2011

Children's Silhouettes

  I am seeing silhouettes all over.  I wanted to get on the silhouette band wagon!  I had taken down several shelves with family photos in my front entry.  I needed something to fill that area.  I came across a wonderful tutorial by Emily's at Jones Design Company found here, but I couldn't get a real clear image when I printed it off.

As I have mentioned earlier I wanted to do my oldest daughter's silhouette over.  She wears a lot of pony tails and I wanted hers to have that look.  This is what it liked like before.  She is the one on the left.


 So instead of using the computer this is what I did. 

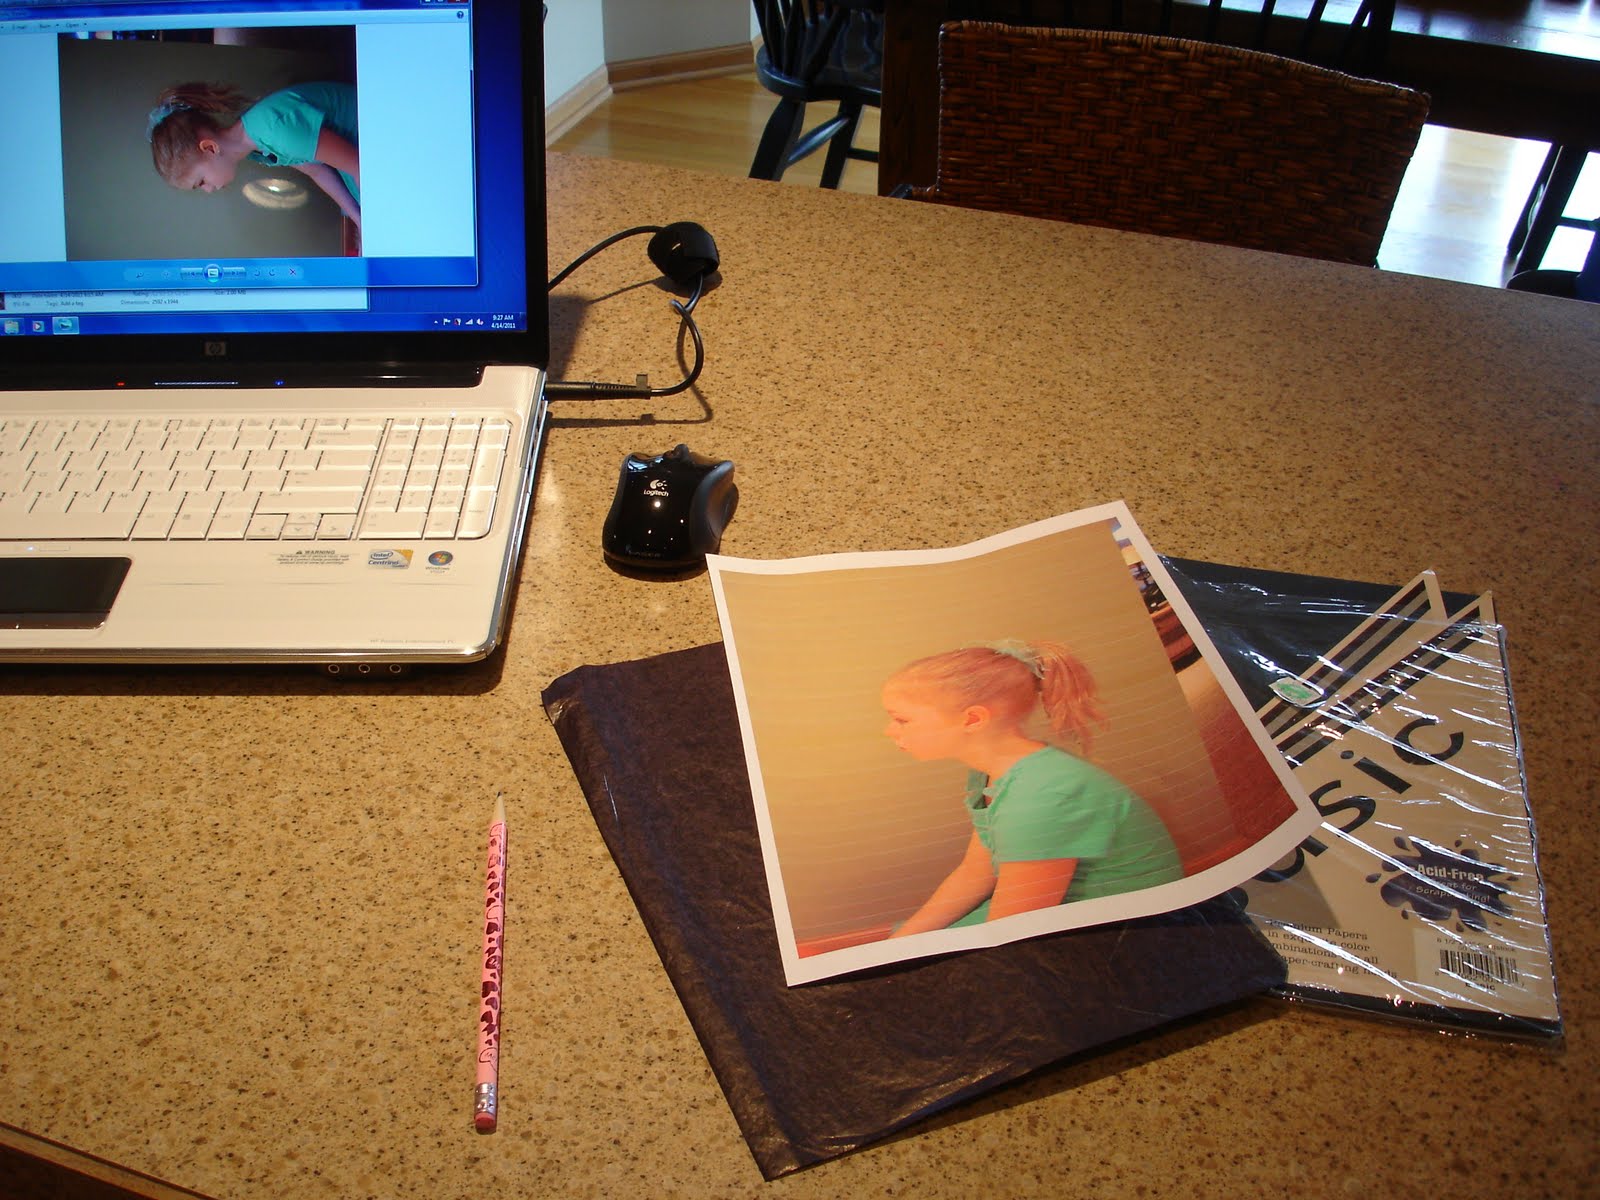
I took a profile picture of my daughter and printed it out.  Something to keep in mind when hanging mulitple silhouettes together is that you want them all to be roughly the same size.  Yes, they all don't have the same sized head, but I didn't want my oldest to be way huge and the youngest to have a puny head.  So I played around with printing my images in different sizes.

I used black cardstock and a sheet of carbon paper found in any office supple store.


I first traced around my image before I started tracing in onto the cardstock.  I did this because I wanted to have a clear line for me to trace from.  I embelleshed her hair and drew in an eyelash. 

Another thing to keep in mind is that I wanted all my silhouettes to be facing a certain way.  So I traced the image onto the cardstock on the back side.  I didn't want to see any pencils marks from the front.

I put the carbon paper between my image and the cardstock and started tracing.


Then I cut it out.  I did have to get out my small sharp scissors to get into the small sections of her hair and to cut out the eyelash.


I taped it directly onto the scarpbook paper and taped the paper underneath my oval picture mat.


There she is!  She looks so more grown up in this silhouette than in the first!  Having her hair pulled up and her neck exposed makes her look more mature.


 While I was in the moment of doing silhouettes, I did my middle child over as well.  Her hair needed some embelleshment and she needed an eyelash.


And how could I forget my little guy!


I love my silhouettes!  My handy husband teases me that I move pictures around too much.  Well these are here to stay!  I might even redo them as they get older.


Silhouettes have been around for ever! 

 I can remember as a child and sleeping over at Grandma's house, there were 2 pictures of silhouettes hanging on the wall.  I was quite scared of them when trying to fall asleep.  My sister and I slept with the hall light on and our door cracked a bit.  I could see the silhouettes haning on the wall with the little amount of light coming in.  They were shadows of people hanging on the wall that scared me so much that I couldn't move in my bed!  I felt like they were looking at me!

And now I have silhouettes hanging on my walls.  Hopefully my children are not frightened of them!

Thanks for stopping by.

Bye for now!

Linking to these parties:


Wednesday, April 13, 2011

It's going on 4 weeks!

  I wanted to give you all a quick update on my wonderful sign that my handy husband made for me almost 4 weeks ago.  Every Saturday that passes he reminds me that I haven't done much with it.  I tell you...I'm in thinking mode.

But in my procrastination thinking mode.....

I've been demoted in the garage!


There's my project waaaaaay over there on the freezer.


My handy husband's got something new to work on.  Maybe his mind will drift away from my lack of work on my piece.


Here it is outside.  I painted it then sanded it.  Then I didn't like how much sanding I did so I painted it over.  I sanded it slightly some more.  I sanded it more on the horitzontal pieces to accentuate the lines.


Seeing it here I will probably sand it some more, especially on the ends.  


This is old wood!  The wood has some great raised grains that looks authentic when sanded.


I love the bottom piece of wood! 

There it is!  I have worked on it but it's been slow....I admit.  I'm keeping this and I want it to be something that I will enjoy looking at for years to come.

To be continued....

Monday, April 11, 2011

Chalk paint giveaway at Perfectly Imperfect

  I have been wanting to try chalk paint for awhile now.  I absolutely can't stand sanding.  It is just not my cup of tea!  Chalk paint can be applied right over glossy finishes.  No sanding required! 

So I have entered myself in a giveaway of chalk paint put on by Perfectly Imperfect.  Check it out and enter for yourself!


Thursday, April 7, 2011

Spring Gallery Wall

Well...this post was going to be on how I made my silhouette pictures, but it has turned a new direction.  I want to makeover my oldest daughter's silhouette with her hair pulled up, but I haven't gotten around to doing so.  It's super easy - no photo editing program involved.  Unless you have one - which would make the process easier.  I simply took a profile picture of my children and then traced around their outline onto black card stock and then cut it out.  I taped the silhouette onto scrapbook paper and taped it under a picture mat.  When I make her silhouette over I will show the process. 


My title gives away the subject of this post.  I am going to show how I have laid out pictures on my gallery wall. 

I can remember looking at the pages of Pottery Barn while thinking to myself, "What crazy person changes the pictures hanging on their walls according the to seasons?"  I can now say....I am one of those people.

This is what it looked like back in October 2010.  No shelves and no coordinating of pictures.  Just pictures grouped nicely on the wall.

I tend to be more of a symmetrical girl.  This arrangement is not symmetrical but it is all balanced out.  You can see in this picture that photos are hung at the same height on the wall.


Here is what it looks like today.


It is very unsymmetrical! 

My poor handy husband repaired a lot of holes of me moving pictures here and there.

All of these frames with mats and 2 different sizes of shelves came in a kit, actually there are several kits pictured here.  I can't remember where I got them originally maybe Bed Bath & Beyond? 

I started with pictures of last year's Easter of my kiddos, except for the one shown of them sitting on the couch. 

I didn't want the wall to be so picturey.  I wanted to add other elements in it.

I started with my bunny.


I iron transferred the bunny on burlap and then stapled in onto a square piece of wood.  This is quite a close-up and I'm noticing the fabric is not so straight.  It's propped up against a family photo.


I printed the same bunny off from my printer onto the same scrapbook paper as the silhouettes.

I like the consistency of the images.  Before, I would have found different pictures of bunnies.  But why?  I like the image why not use it in another way.  I have used the nest picture and the bunny picture in other areas of my home.


The picture of the nest and the definition of nest are printed off onto a linen textured card stock paper.


And there it is!  I love how it's casual; pictures propped up and the different textures of fabric and moss and the decorative eggs.  I'm happy with it!

I've already started thinking about what I will do for Summer.

One more thing......this chair!


If you don't recognize the chair it's from Pottery Barn.  First time I saw it, I fell in love.  I fell in love with the basket weave!  I just had to have it.  And so when money was given to us, I made the trip to the PB store 50 miles away, purchased it, put it into our Suburban and drove home. 

This chair is detested by my handy husband with a passion!  Not only does he dislike the look but the comfort is somewhat undesirable.  He also dislikes how it came to live inside our home.  I used some, or I should confess, all our 5th wedding anniversary gift money to buy it without fully consenting him.  He knew I was going to be buying a chair.  What he didn't know that it was THIS chair and the actual price.

Thanks for stopping by.

Bye for now!

Linking to these parties:


UndertheTableandDreaming